


Dickson Support Database
Getting Started with DicksonOne
This article applies to these plans: #
Basic #
Standard #
Compliant #
About Configuring Your Account #
- This article serves as the fundamentals for getting started with DicksonOne, and each of the sections below provides links for additional instructions
- The individual who creates a DicksonOne account becomes the Owner (Super Admin) by default
- This article is intended to help you configure various settings on the account before adding Users, adding Devices and/or creating Alarms
Note
Create an account before getting started and reach out to your sales representative once your account is created so that the proper subscription is applied to your account. Visit Creating an Account for more help on how to get started.
How to Get Started #
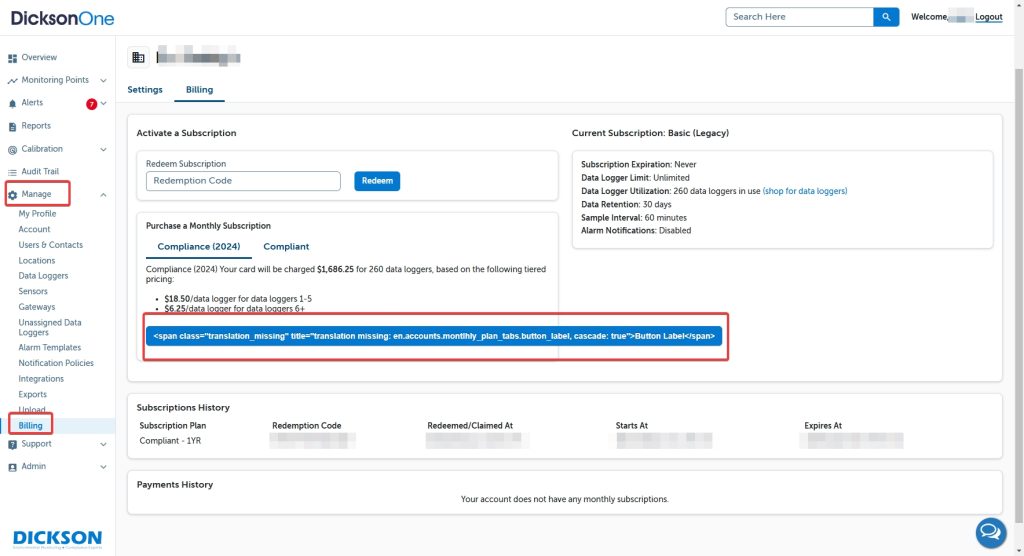
Phase 1: Verify Subscription is Active #
- On the left navigation bar on the interface, click on Manage > Billing
- Verify that you have a subscription redeemed or reach out to your sales representative
- or begin a recurring monthly subscription plan
Phase 2: Configure Default Device Settings #
The pre-set default device settings will be applied to device(s) as they are aded to the account making it easier for your organization and users to add new hardware. Go to Change the Device Settings to learn how you can customize a specific device to its own settings.
- Go to Manage on the left navigation bar and click on Account
- Click on Default Data Logger Settings
- Configure the Account Default Device Settings to fit your organization’s requirements, i.e., Firmware Update Settings to be set Automatically, Sample Interval at 10 minutes, 30 minutes, etc., Calibration Interval to 12 months, etc.

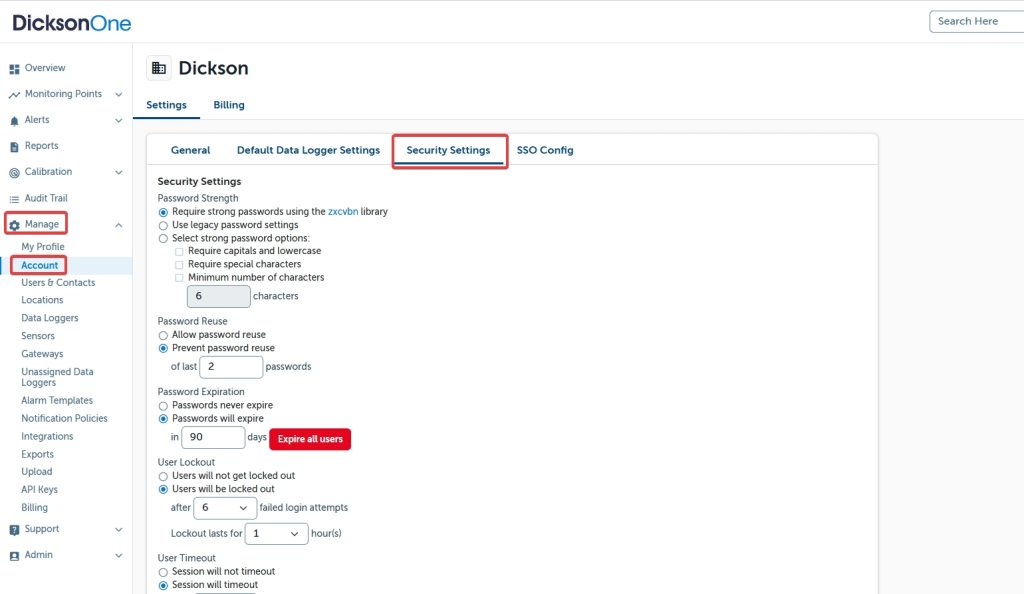
Phase 3: Security Settings and SSO Config #
Your Organization’s IT Requirements may need to be configured and if your organization utilizes an Active Directory you may take advantage of Single Sign On (SSO).
- Go to Manage > Account page and then click Security Settings
- Various settings can be configured for the account and these settings will be applied to current and future users
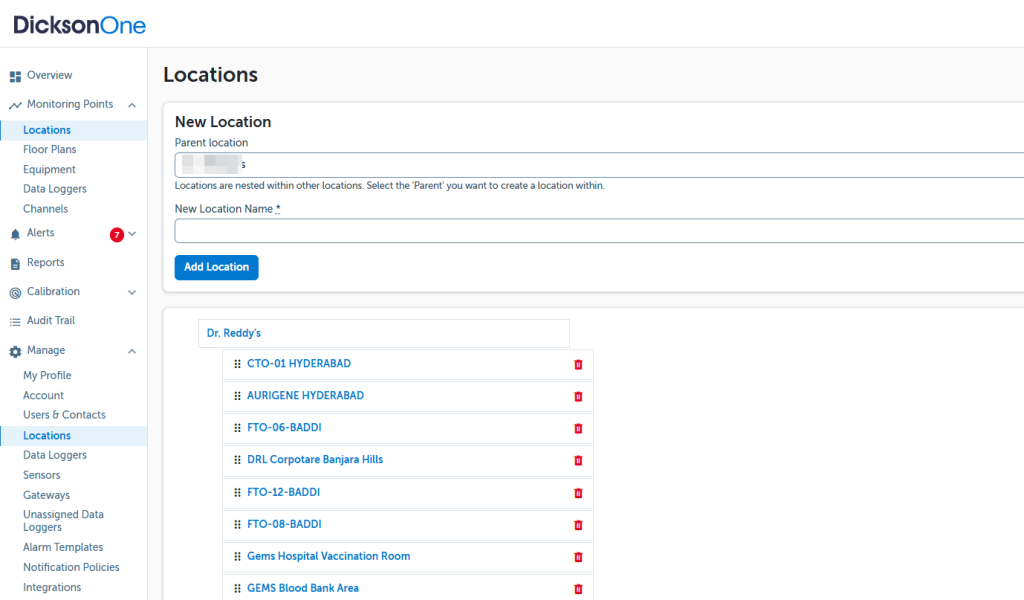
Phase 4: Add Locations, Register Devices, and More #
Adding locations can be beneficial for how you organize your monitoring points (devices) and how you will manage users
- Go to Manage > click Locations
- The Account Name is the Super Location that everything lives in, select from the drop down menu where the location you are adding will exist in
- Name your location (can be geographical or based on application, e.g., ‘Refrigerators’
- Click Add Location
- The location structure works in a parent-child relationship in which you can continue to add sub-locations within a higher location
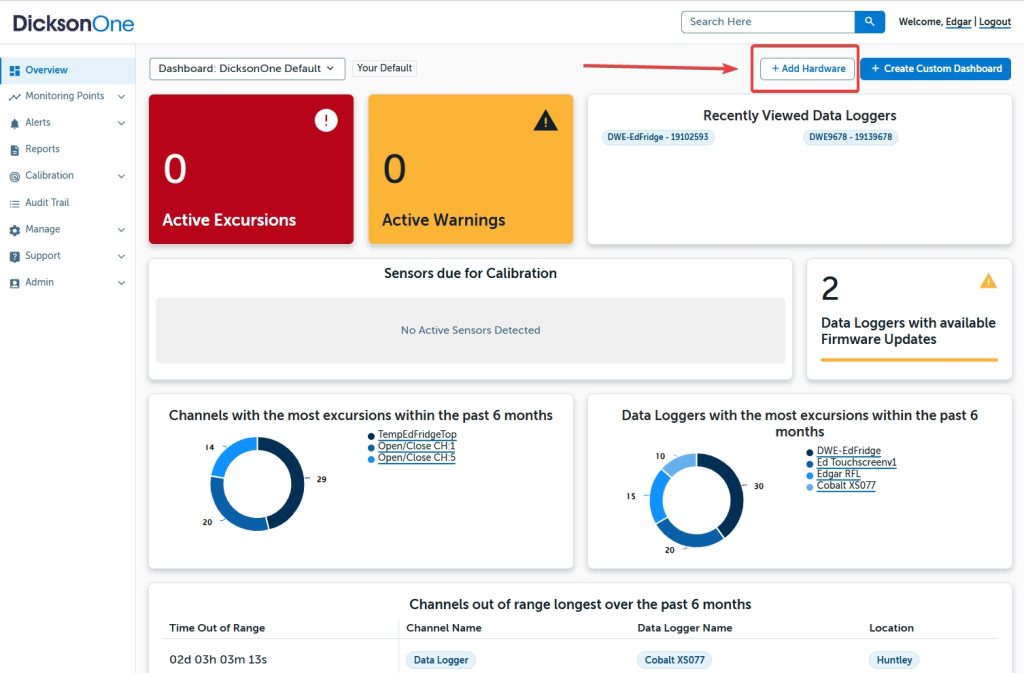
Registering Devices can be simple, on the welcome Dashboard page and/or on a Location’s page, you can click +Add Hardware to register devices
- Name the device
- Input the Device’s registration code (Learn More)
- Select Location
- or Add a New Location in which the device will live in
- Click Edit under Data Logger Settings to update Settings
- Click Register Data Logger